
Global Styler - Desktop
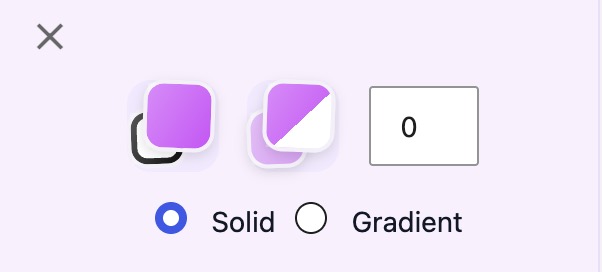
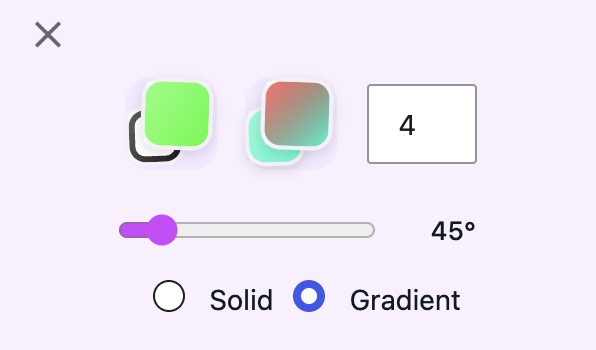
The idea behind the Global Styler is to give you easy access to colors, strokes, sizes and gradients which are the most used tools in the plugin. The Global Styler is always visible in the (in desktop view) top left column no matter what other tool you are working with. We are working on adding more items to the styler as well.

Use it with TEXT
To use it simply add text to the canvas. You can then change text colors add strokes and create Gradients.
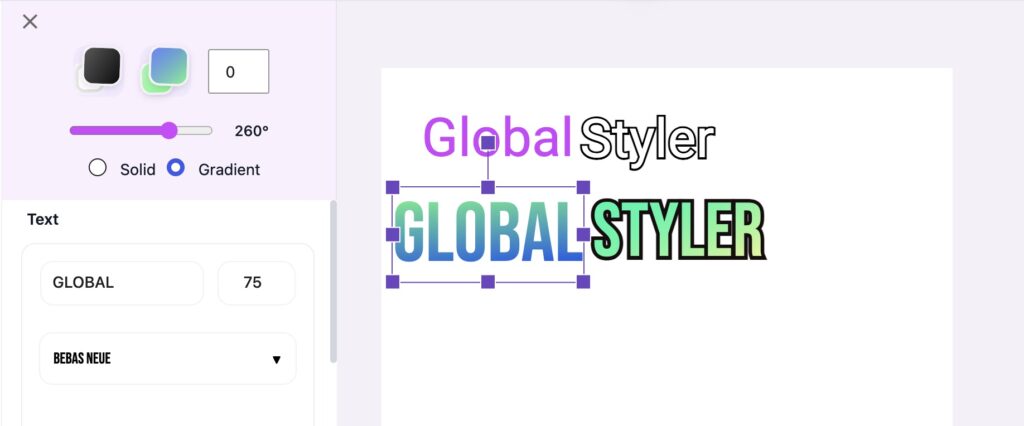
Use with Text
Use it with STARTERS
It works with LOGO STARTER elements as well. Again easy access to keep your creativity flowing without constantly looking for styling tools.
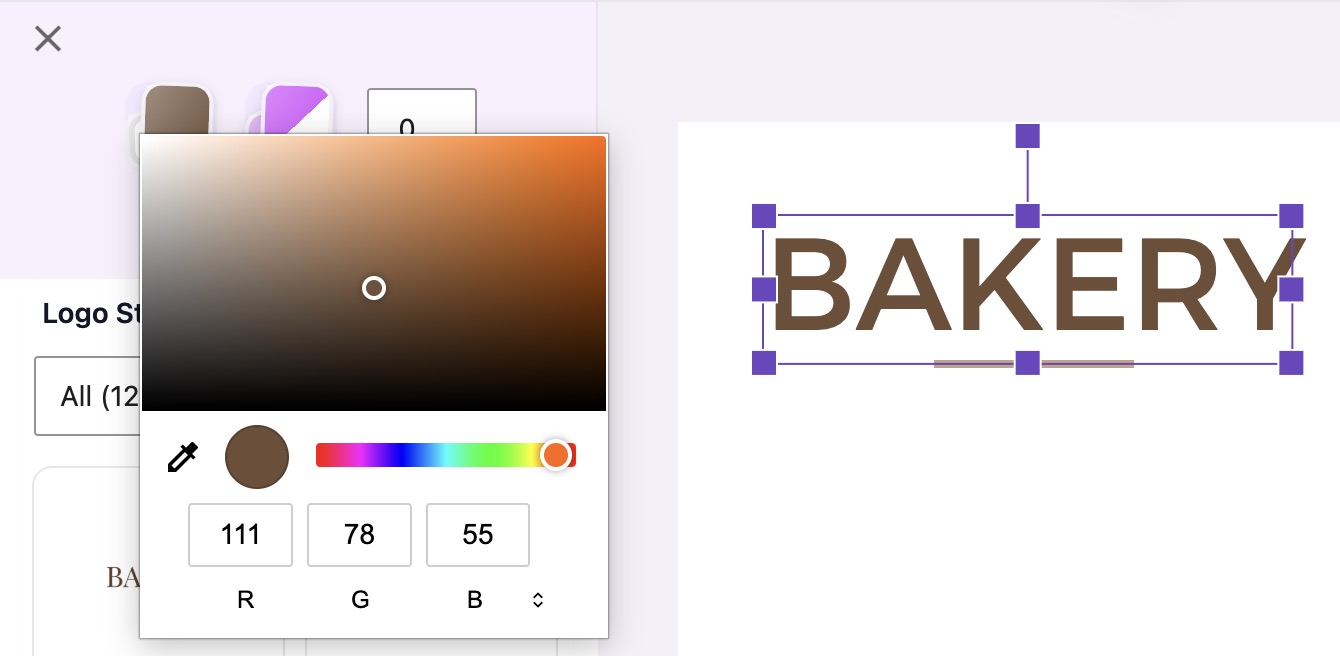
Use with Starters
Use it with SHAPES
It works with SHAPES. It also works with the more advanced STAR tool equally as well.
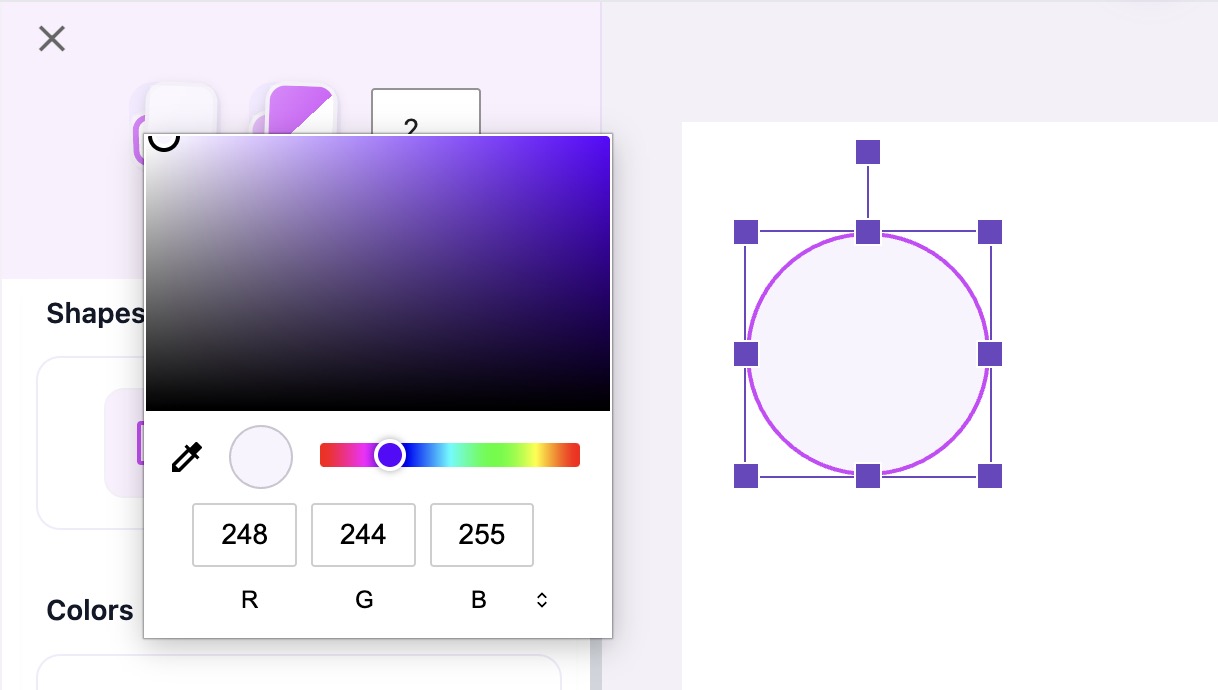
Use with Shapes
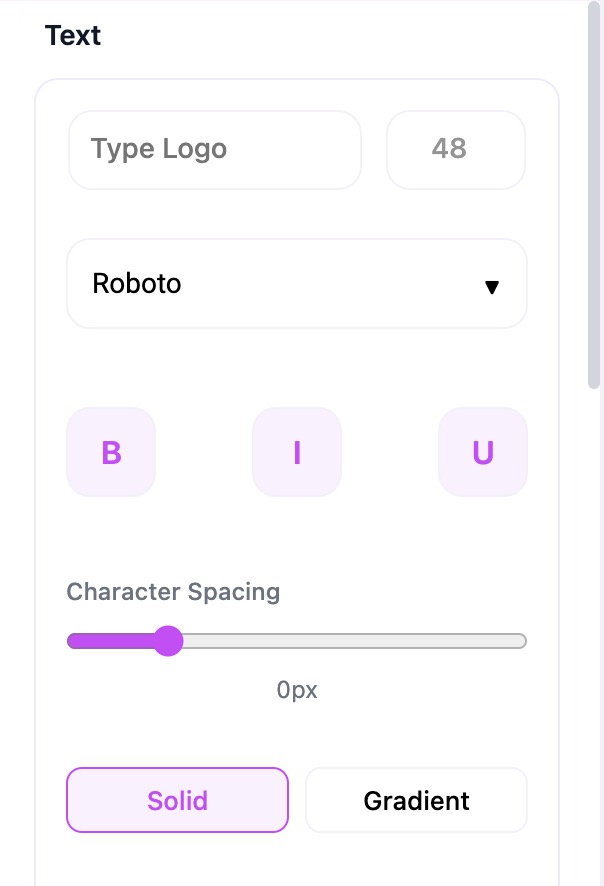
Text Tool
Most logos start with text so we are doing our best to make this quick and easy for you. Add your text with the quick Add button then style your text with the Global Styler or more in-depth TEXT TOOLS can be found in the Text panel on the left side.

Basic TEXT Styling
In our TEXT panel you can do most things you need to like SIZE, BOLD, ITALIC, UNDERLINE and SPACING.
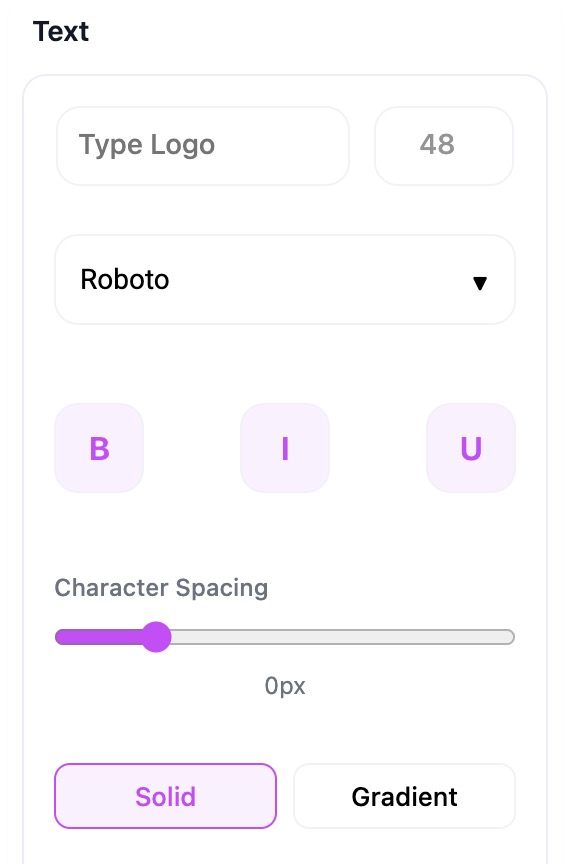
Text Tool
Quick Add TEXT Button
In the header you can't miss the round purple button with the + on it. Click it and get started with some text on your canvas instantly.This button is available in Mobile devices as well.

Quick Add Text
Gradient Tool
You can get as creative as you like with a Gradient tool designed to match your vision.
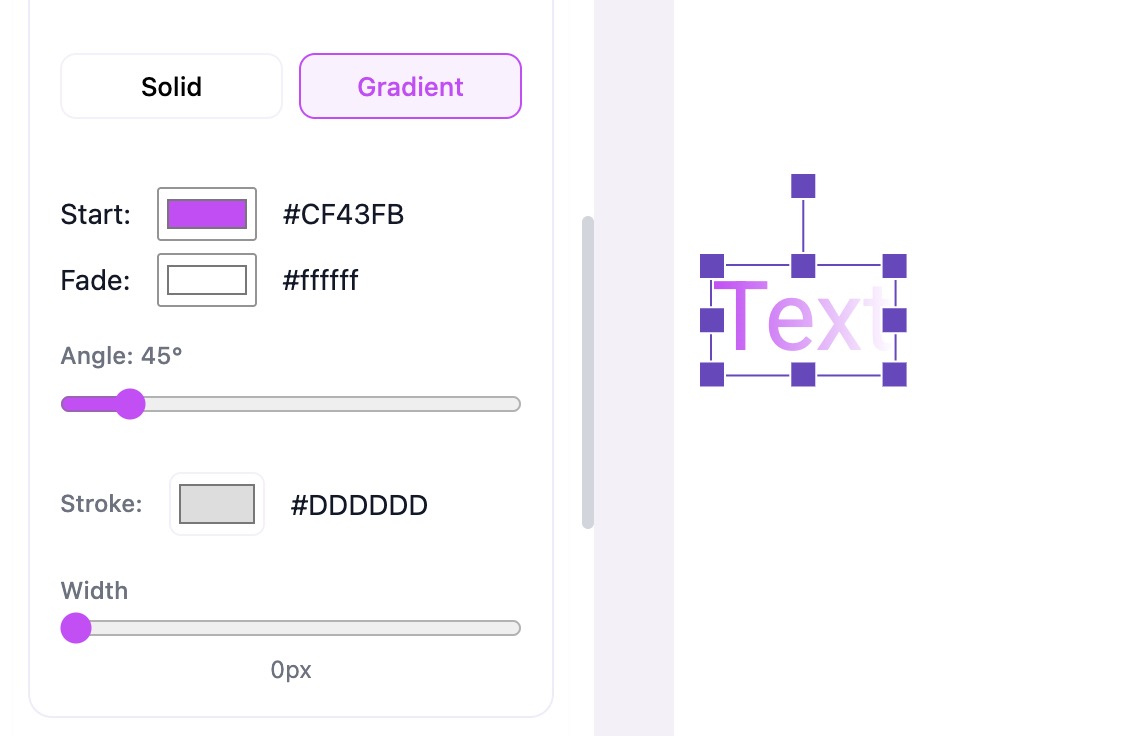
Gradient Tool
Drop Shadow
The Drop Shadow tools offers Horizontal, Vertical,Blur and Opacity sliders. There are also sevral preset buttons that you can use.
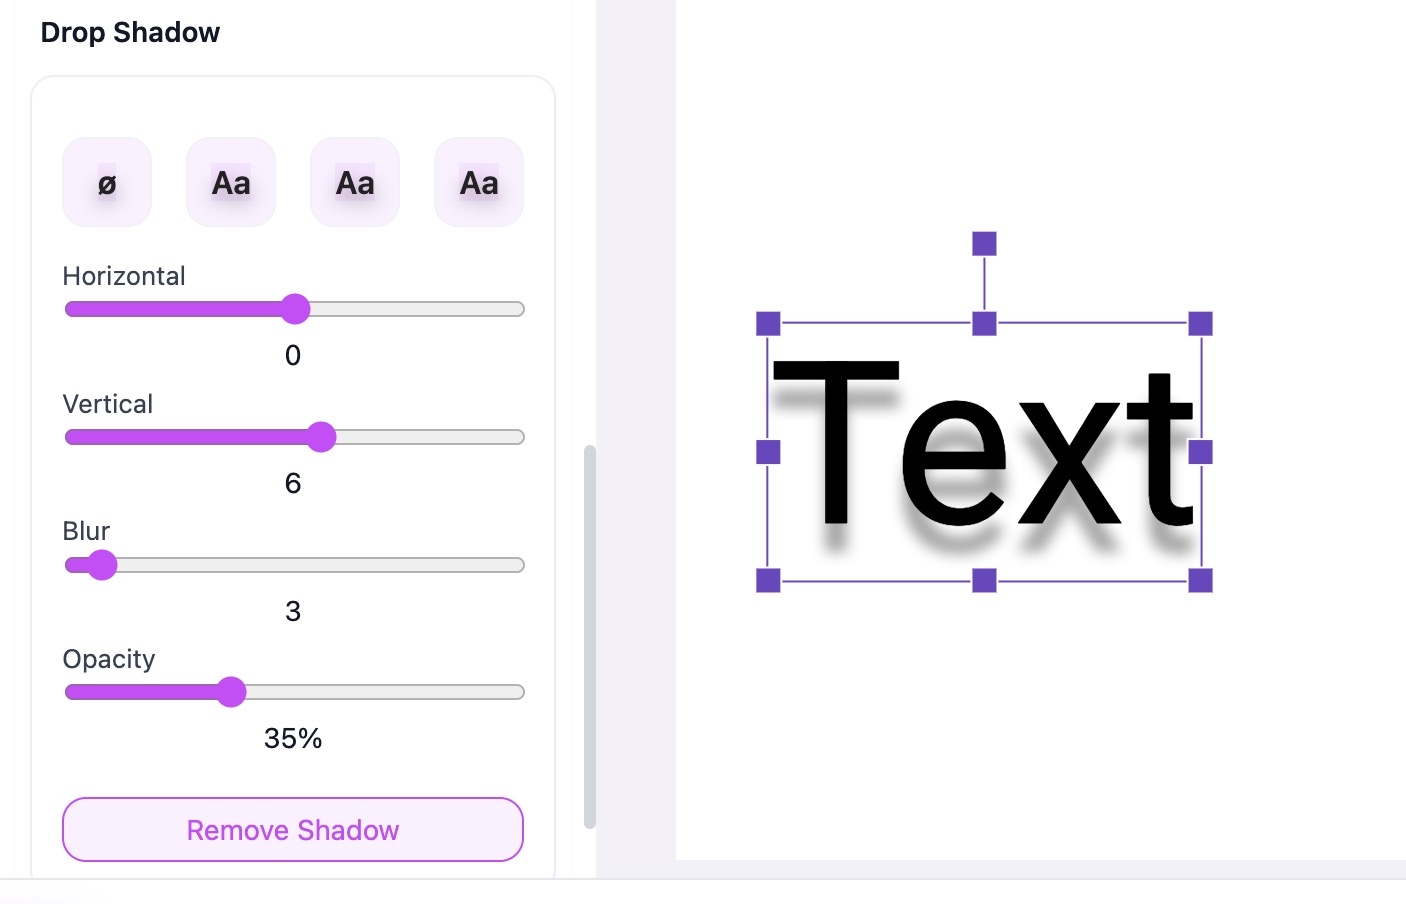
Drop Shadow
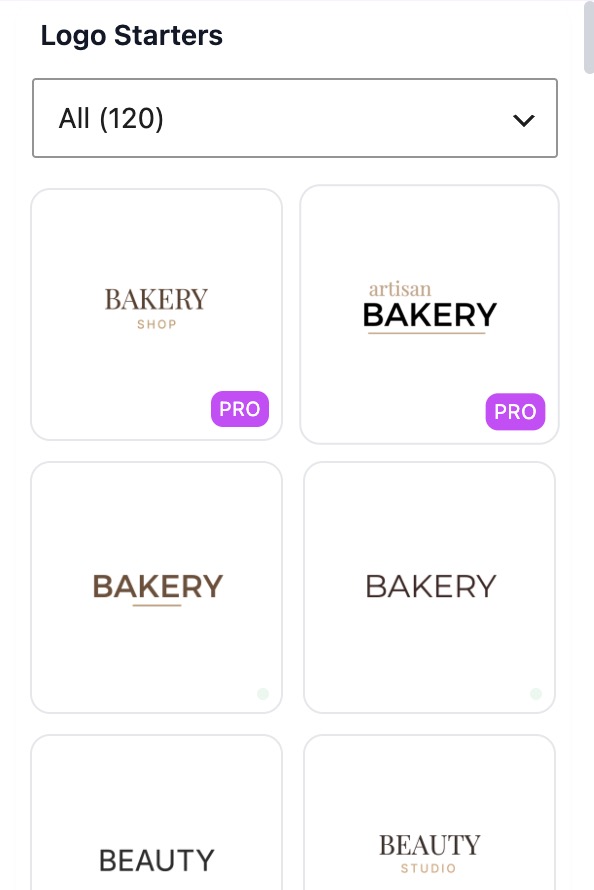
LOGO STARTERS
The idea of Logo Starters is to just give you somewhere to start. Sometimes a simple Font Face or an icon placed in a certain way is enough to get your creative juices flowing.

How to use LOGO STARTERS
We currently have over 100 Logo Starters in multiple categories. These Starters were all created within the plugin so they work perfectly. Sometimes you just need a bit of inspiration.
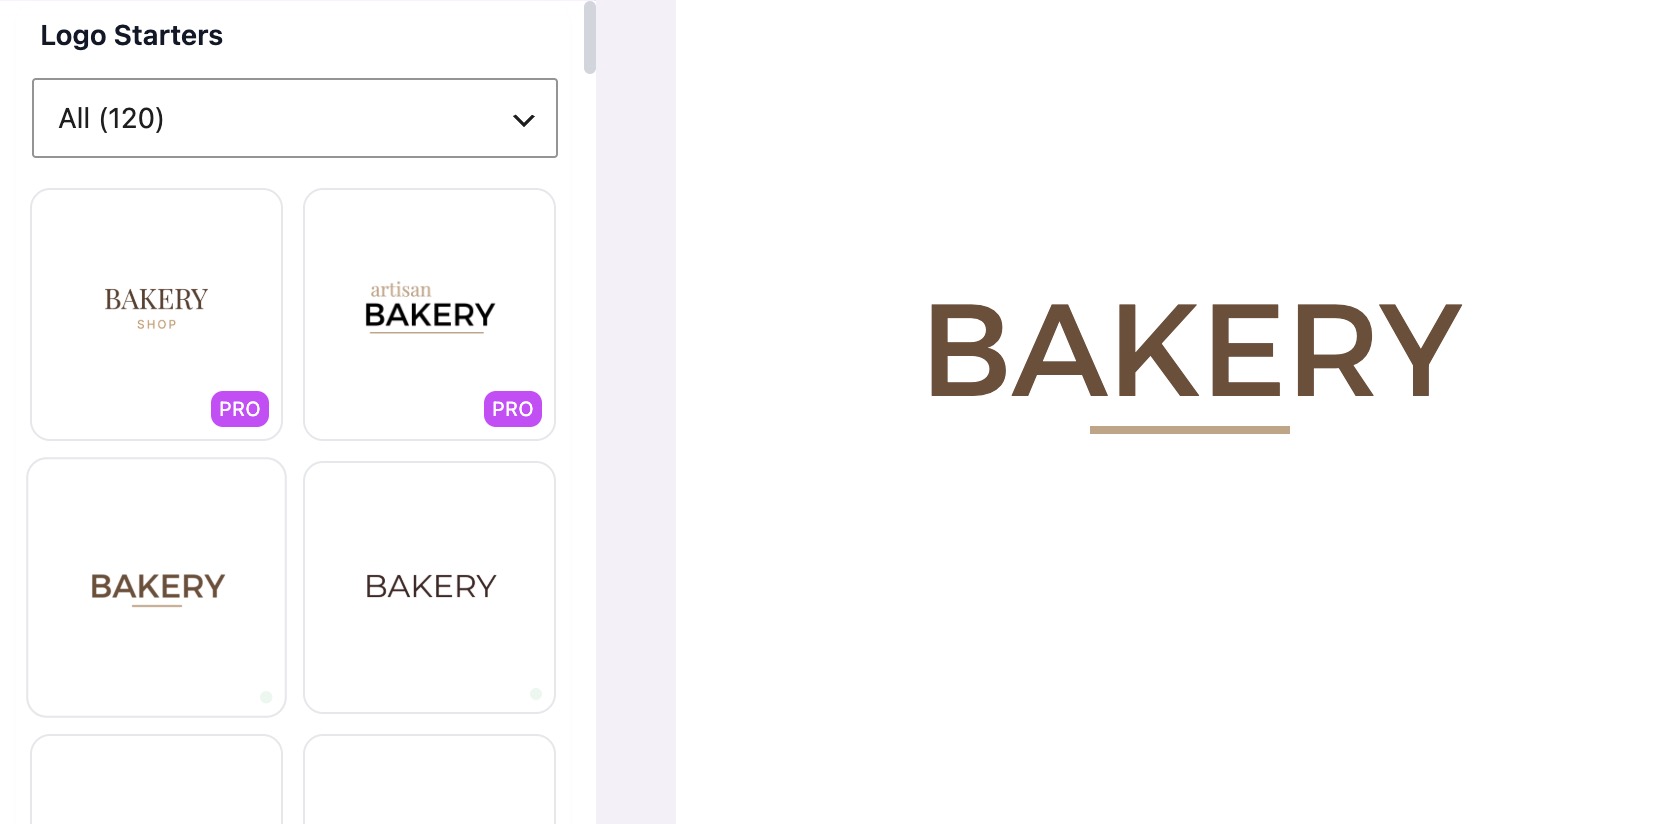
Logo Starters
Logo Starters - PRO
PRO users get some additional Starters. Also many of the PRO Starters offer a little bit more graphics and color. They are still meant to just give you a basic start in your project but they pack a little more punch. We currently have over 100 Starters and PRO users get access to them all.
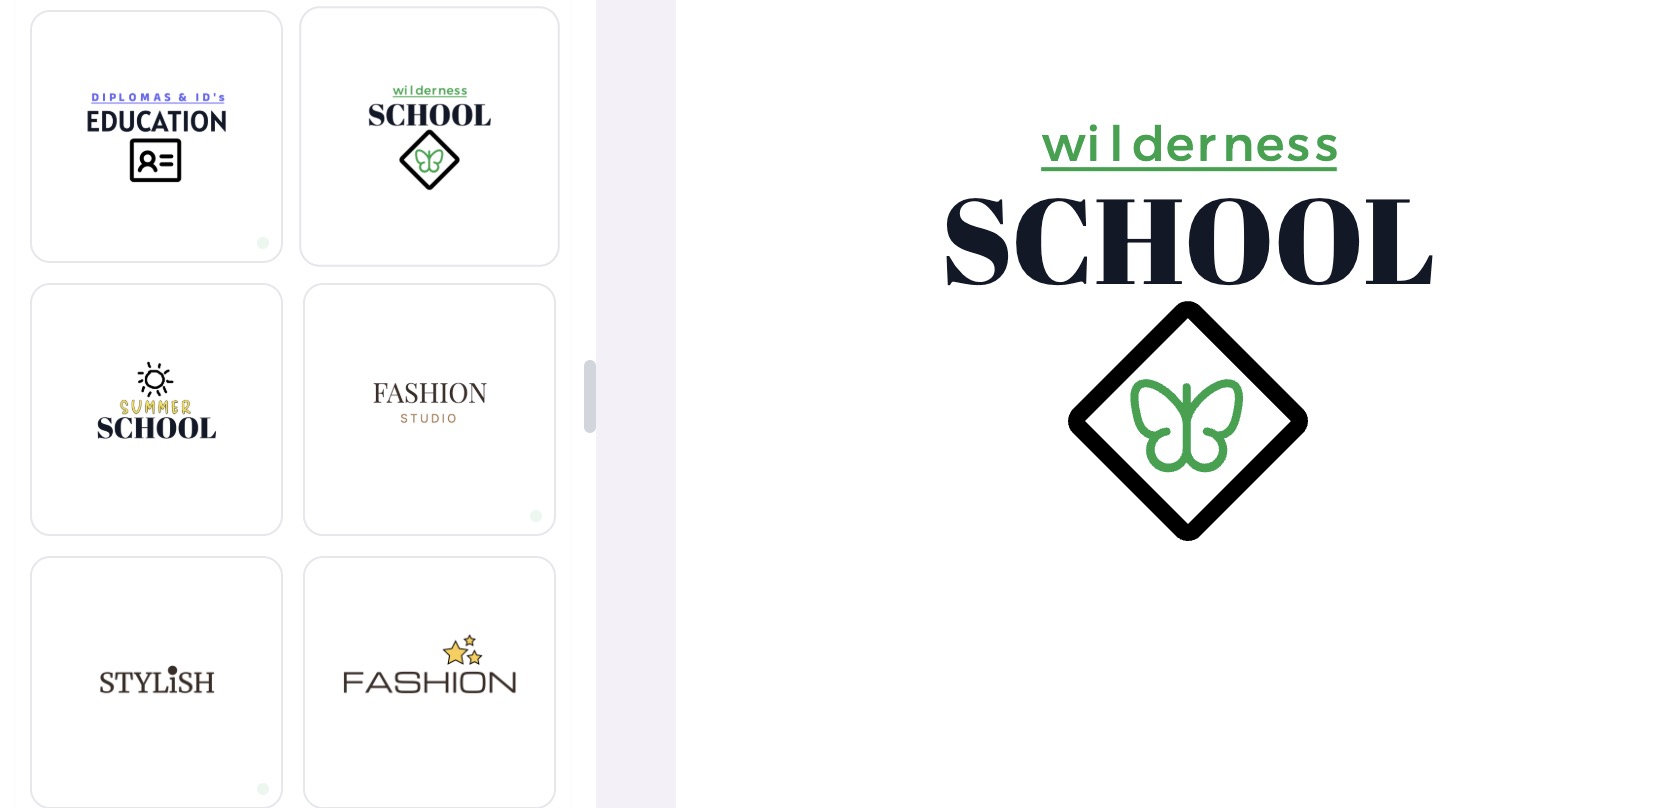
Pro Logo Starters
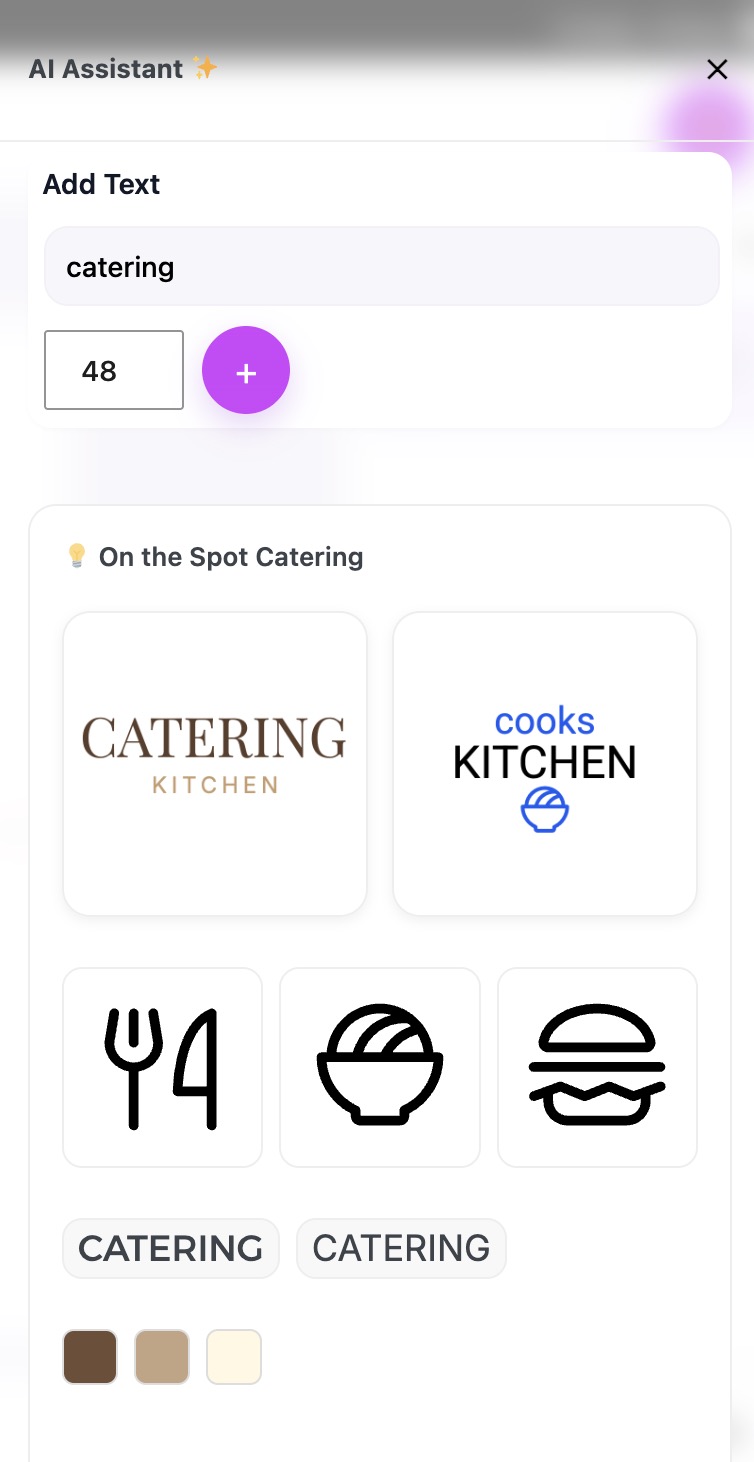
miAI ASSISTANT
This is the tool that really sets miLOGO apart from anything else. I have worked on it the most. I have a vision of how this should work and we are just about there.

Locating miAI Assistant
The first thing to note about the Assistant is where you find it. It is located in the top right hand corner of the header and is not one of the tools in the left panel. This is because the miAI Assistant requires a larger panel so we located it on its own . Clicking the Round button with the AI icon will slide it open.
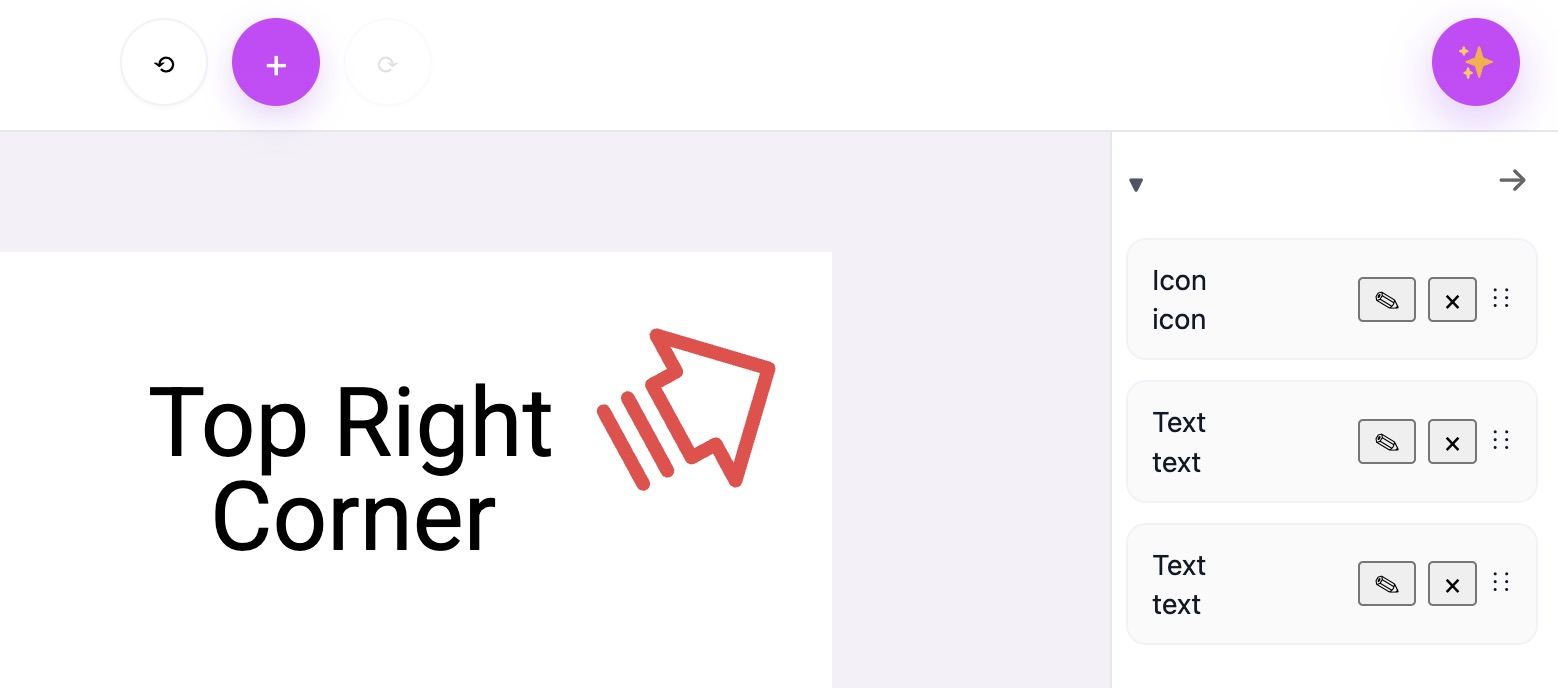
miAI Assistant
How to Use miAI Assistant
1. When you first open the miAI Assistant you will notice that you can type in your own unique search or you can choose from several pre-made categories from the drop down box.
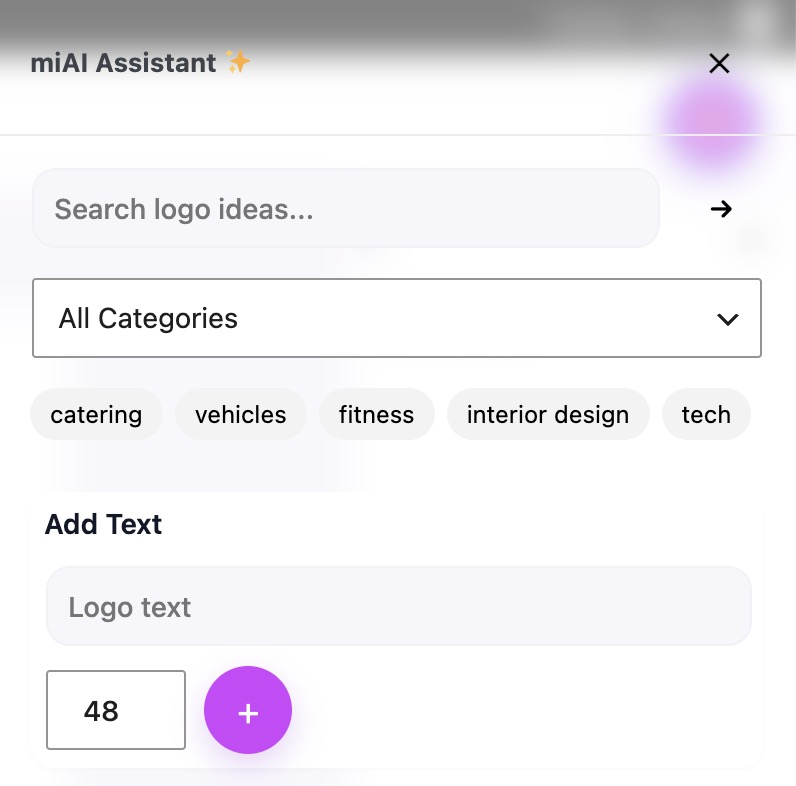
Screenshot
2. Next notice that there is also a Quick Add Text button here as well. After you select a search of your liking you may decide you want to change or add some Text on the canvas with something more appropriate for your project.
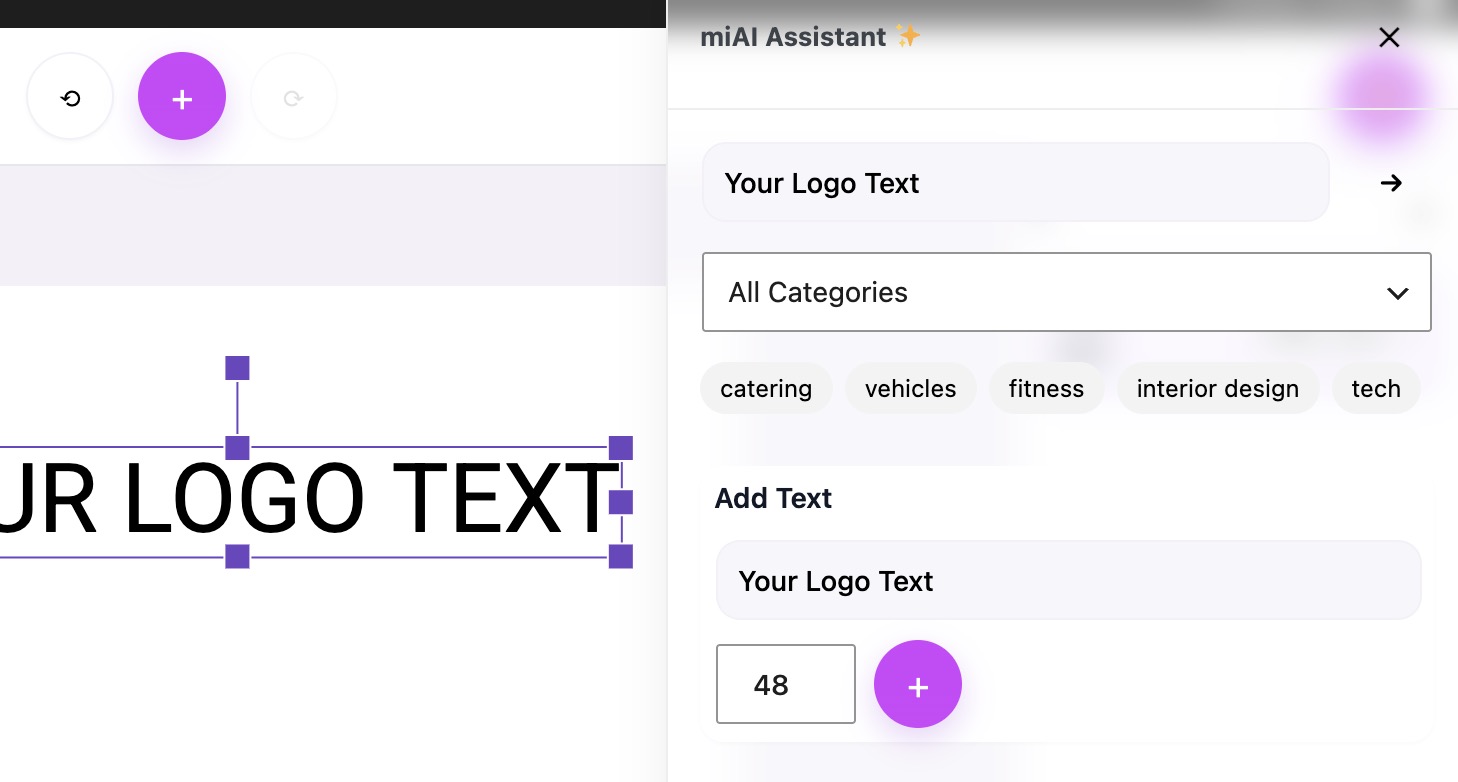
Your Logo Text
3. After finding what you like add it to the canvas and you can edit it to suit your needs.
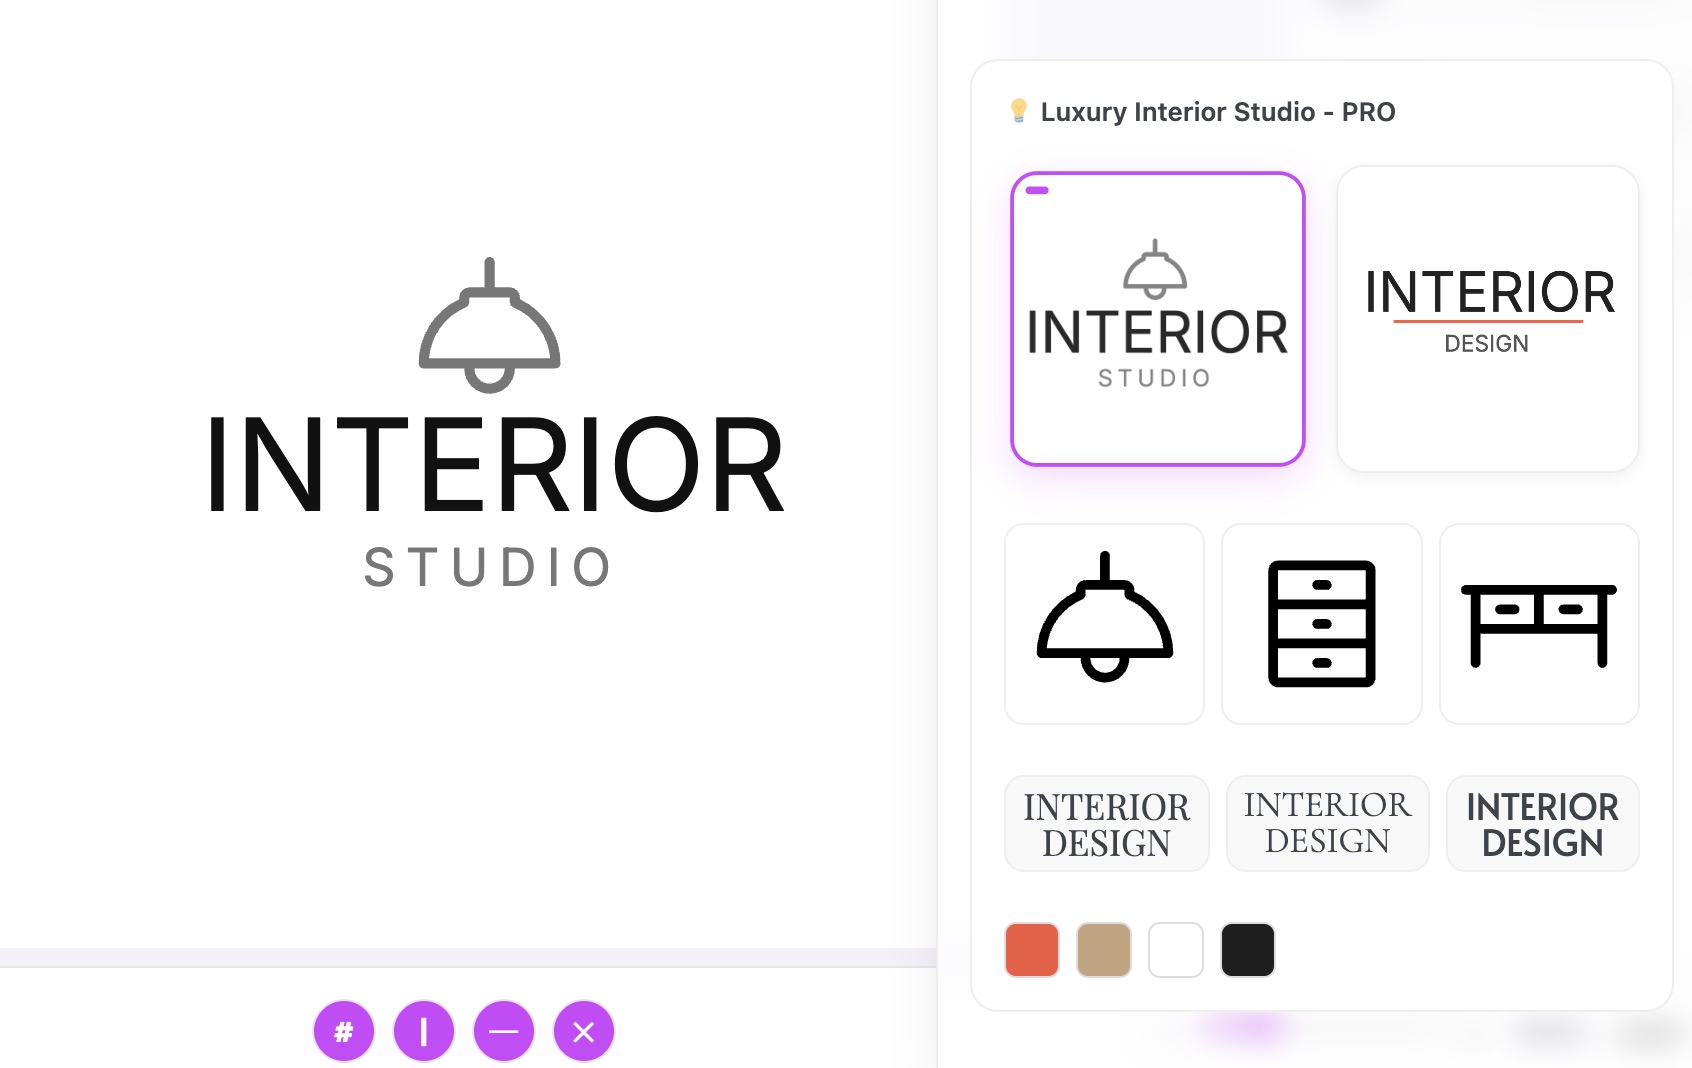
miAI Suggestions
Ai is FREE... right?
Unfortunately understanding the cost of Ai is getting harder and harder to explain with giant companies like Amazon, Google and Apple all getting into the ai business. For example you do a Google search and they return a very indepth fantastic Ai search... this is FREE... right? No it isnt but any cost of it is being absorbed by Google because they own everything to do with your ai search. They own the technology, computer chips, power consumtion costs etc. Then because they make so much with their other departments your little search is just the cost of doing business. Don't worry they will get along just fine with your little FREE search 😉
To explain this a little bit better lets take a look at a company you likely all know but is much smaller than the giants I just mentioned. We are in WordPress right now so I am sure most of you have heard about DIVI by Elegant Themes. DIVI is one of the most popular products that has ever been created for WordPress. Not that long ago Elegant Themes came out with Divi Ai but many users were surprised to find out that their yearly membership did not actually include Ai. Why? Again I ask "Ai is FREE... Right?". The answer to that is NO IT IS NOT. Even a large successful company like Elegant Themes has to pay for each and every Ai search that their users perform. Why? Because they do not own the technology themselves they will be connecting to a company like OpenAI (Chat GPT) for their Ai use. This can get very expensive very quickly. As a matter of fact this exact issue caused several companies to lose a lot of money before they figured out how to use it and bill for it correctly.
So, why am I telling you about this? Well this now brings us to miAI Assistant and the way I am dealing with these costs for you my users. I am proud to say that even my FREE users will have some very usefull access to some Ai searches... but how you ask? Well to make a long story short I already did several thousand Ai searches for you in my own Ai account so they have already been paid for. The results have been cataloged and categorized so now even my FREE users will see the results of some of these searches I performed already. My PRO Users will get access to the FREE searches plus searches that include PRO Starters, Icons etc.
What are these searches displaying you ask? Great question... each search returns 4 results for a specific category. For example if your graphic is for a Cooking Website then you will get Logo Starters, Icons, Font Face examples and finally some colors that will go with a Cooking style website. Pretty cool huh! give it a try.
There is much more to come in this secction so be sure to stay tuned.
What's Included in a miAI search?
Each miAI Assistant search includes the 4 most important things according to our users. Each item can be found throughout the plugin but the goal here is to put them all together so you can focus on designing rather than looking for them.
1. Logo Starters - These are the most requested item in our plugin so naturally they are at the top of every search.
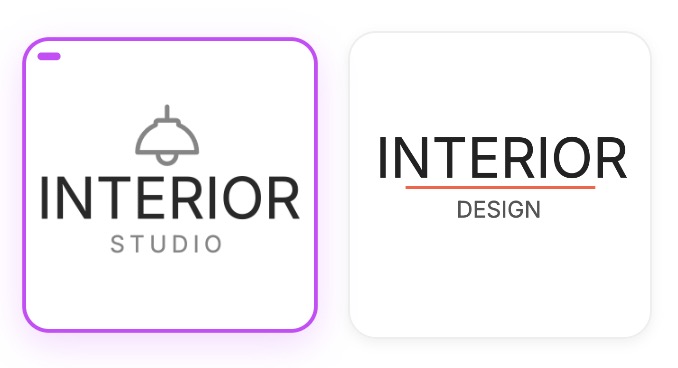
Logo Starters
2. Icons - These always seem like such a simple thing but the value they can add to your project if used correctly is valuable.
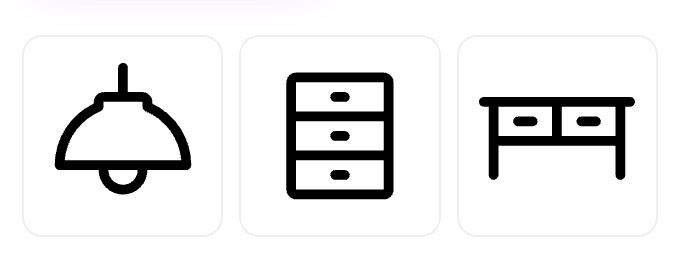
Logo Icons
3. Font Faces - While many people love the variety of font faces that Google offers those same people struggle to find exactly what they need because there are simply too many of them. So, we asked Ai to give us a few recommendations based on the category, look, feel and general syle. They can hopefully help you select a font face painlessly.
To use them simply hightlight any written text on your canvas and click one of the samples. This will change the font face for you. Happy font face hunting!
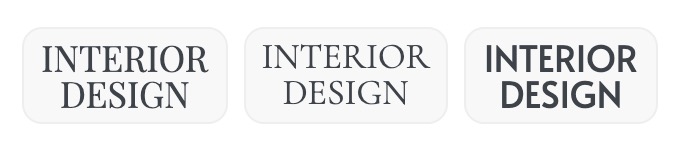
Font Faces
4. Color Swatches - If you have ever gone to the paint store and looked through the swatches for that perfect paint color then you know exactly what these are. These allow you to try several colors that are related to the category and feel you have selected for your graphic.
Click on any of these swatches while you have any item in your graphic selected and it will change the color. Happy color search!

Color Swatches
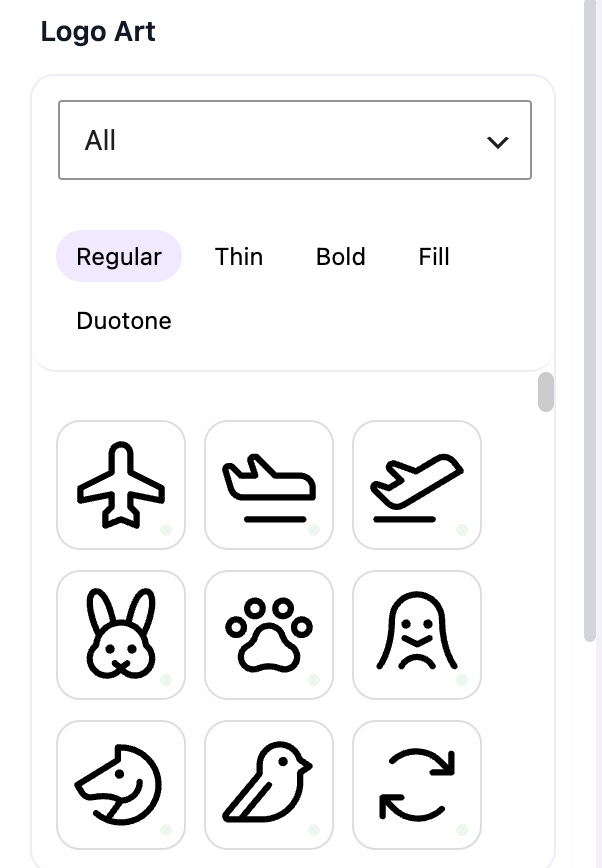
LOGO ART
Why did we call this section "Logo Art" and not just "Icons"? Great question, while there are currently only Icons here there are many plans in the works for this section. Stay Tuned!

LOGO ART
You can use Logo Art in places where you think an Icon will best suite your design vision.
LOGO ART - PRO USERS
Pro users have full access to all 5 of the tabs above the icons. You will see Regular, Thin, Bold, Fill and Duotone.
Duotone Icons
Future Plans
My vision for Logo Art is to give you a space where you can save and edit your own Art. Stay tuned for that.
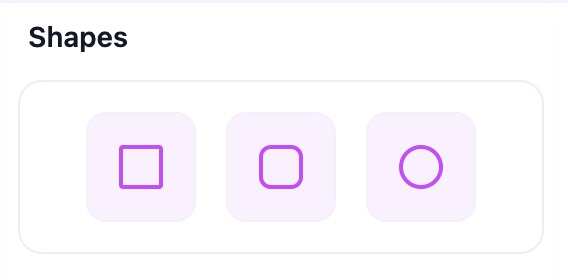
SHAPES
We currently have Circle, Square, Rounded and a seperate Star System for everything from a 3 sided Triangle to a 20 pointed shape. You can style them with colors, Drop Shadows, Gradients and Strokes etc. Another tool where your creativity is your only limit. 
BASIC SHAPES
Use one Shape or combine several to make that unique look. Once you drop a Shape on the canvas you have many ways to edit and style them exactly how you would like.
Shapes
GET CREATIVE
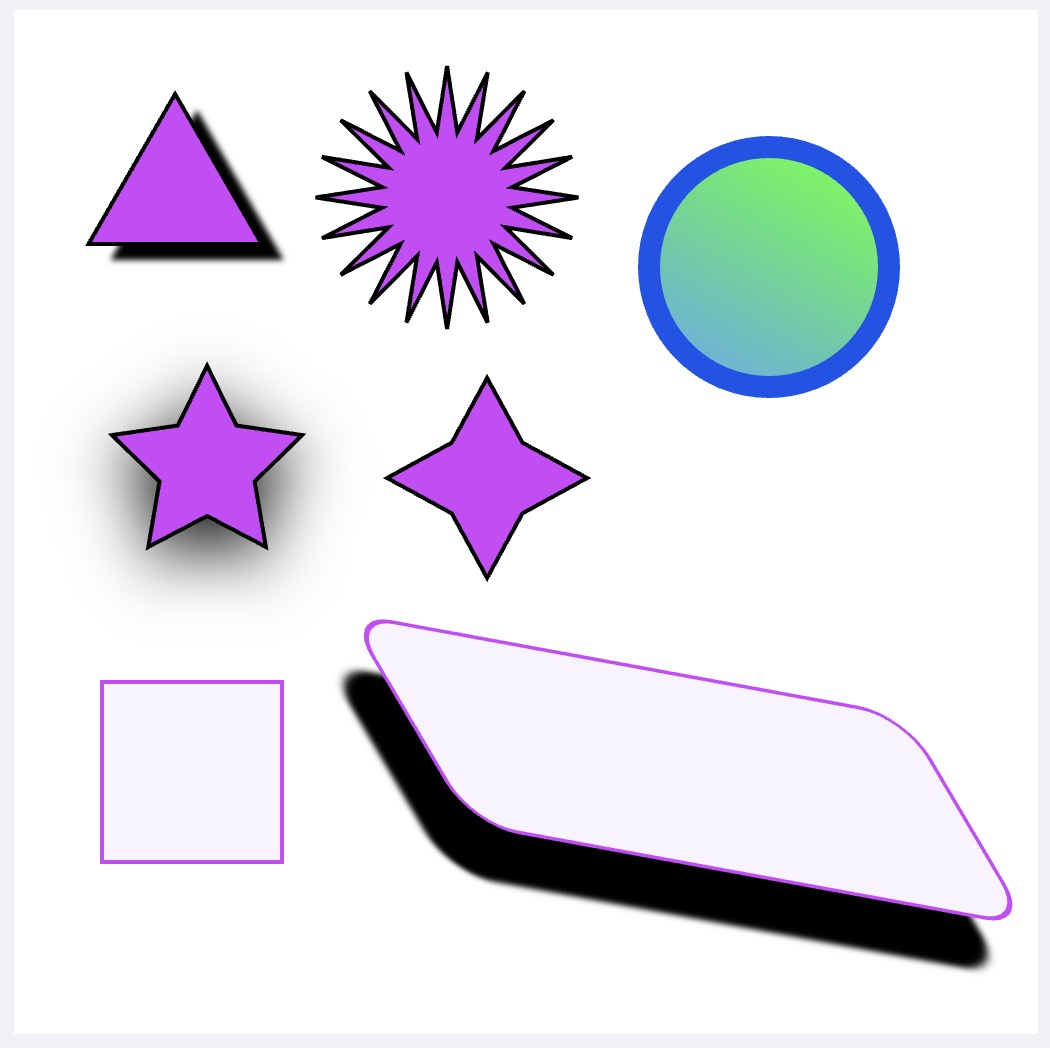
Here we show just a small sample of what you can accomplish when you combine tools to get creative with Shapes. What will you create? In the sample below we have used Gradients, Drop Shadows, Colors, Strokes, Points etc.
STARS - TRIANGLES - MULTI POINTS
It is called the "Star" tool but it does so much more than that. From something as simple as a 3 sided triangle to something with 20 points you can create some really cool stuff.
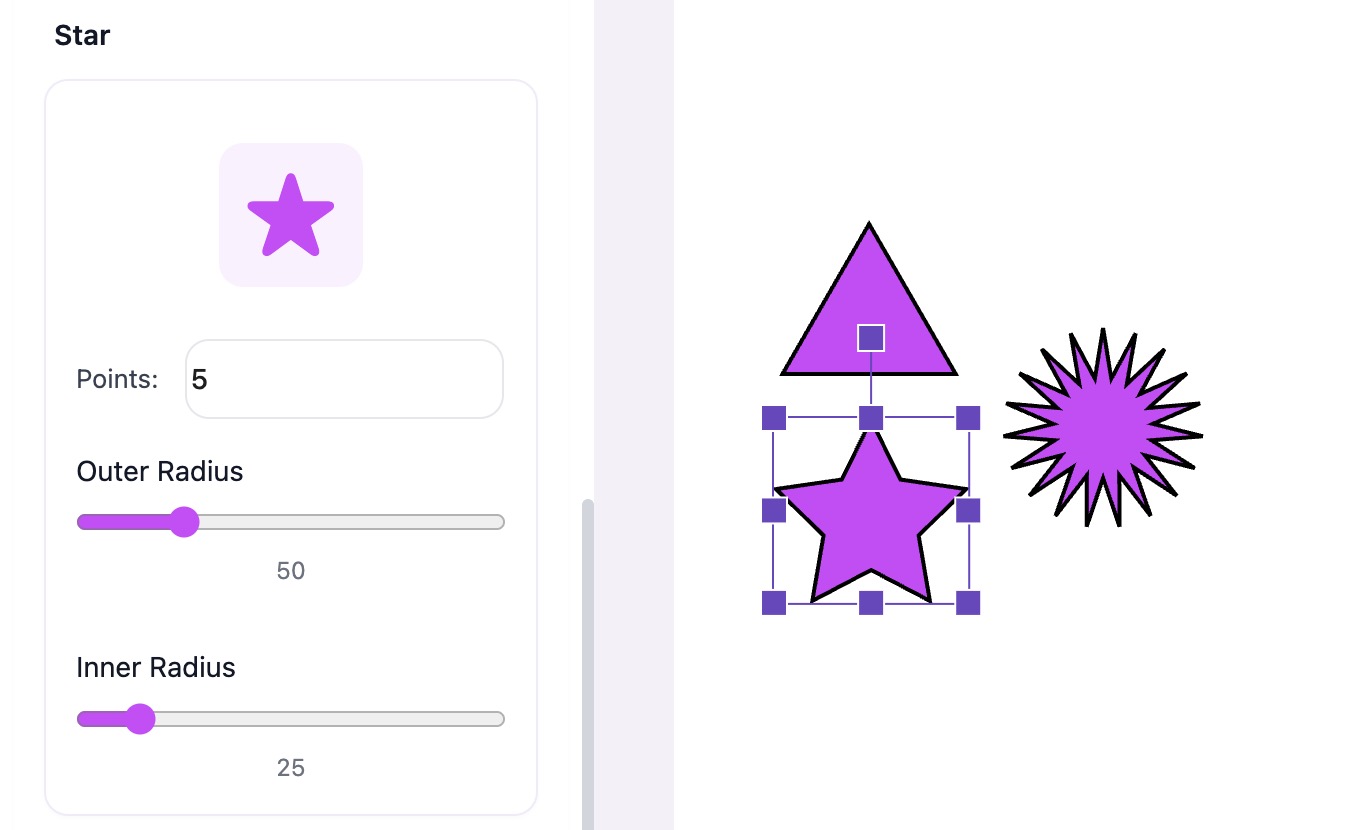
Future Plans
We already have a polygon tool that just missed this initial release of the plugin as we simply ran out of time to finish it. It will be added in the very near future.
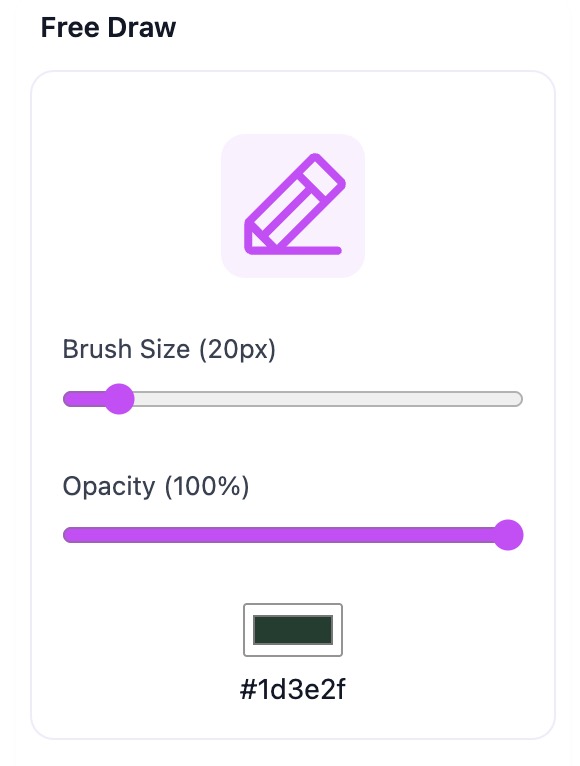
FREE DRAW
Unlike the sample I showed you on the left I have actually seen people create amazing things with the Free Draw tool. It is a very simple tool to use but it can be used to hand draw items for your designs. Imagination is your only limit.
Draw Something
This is one of those VERY simple tools that can be so important to a graphic.
How to ENABLE/DISABLE
To use the Free Draw tool first locate and click the "Draw" Icon in the Left menu. This will give you 2 options to choose from "Free Draw" and "Line Draw" when you click the Free Draw icon this enables the tool. Once it has been enabled you can edit the settings Brush Size, Opacity and Color. Once you have everything the way you like simply click and hold anywhere on the canvas to start drawing. Each time you let go of the mouse it will stop drawing and add a layer. NOTE: the tool will be active on the canvas until you click the Pencil Icon a 2nd time to disable the tool.
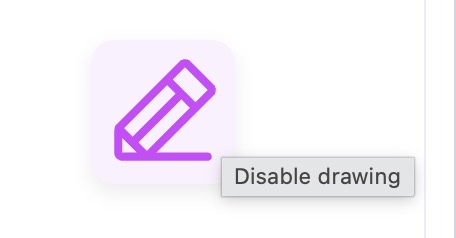
Draw Tool Control
Future Plans
I am working on giving you more control and options to help you create more intricate drawings. Stay Tuned
LINE DRAW
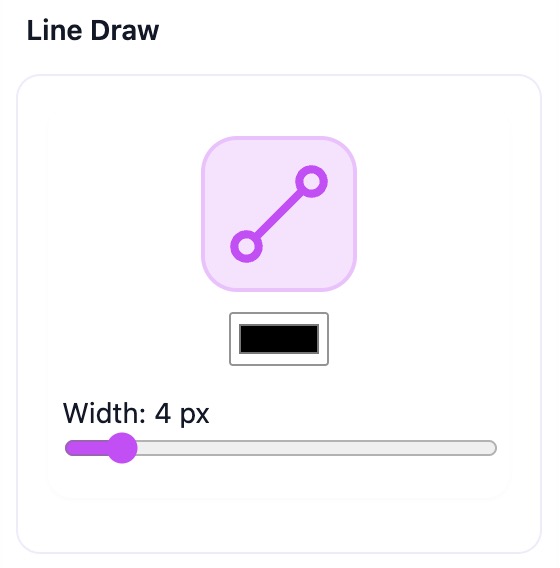
The "Line Draw" tool is basically the opposite of the "Free Draw" tool as it is about exact sizing when a graphic requires straight lines.
Need a Straight Line?
Here is another of those SIMPLE tools that can become so important to the graphic you are creating. Sometimes you need some exact lines for borders or edges or whatever the case may be. Thats where this tool shines.
How to ENABLE/DISABLE
Simply clicking the Line Icon (see below) will add a 4px straight black line to your canvas. You can make these lines any length/width that you require. You can also edit color.
Line Draw Tool
SAVING and Exporting
Saving and Exporting is very easy. You can save and import/export many file types using miLOGO.
How to Save & Export
miLOGO is a very modern system and we use the prefered file system by WP which is JSON.
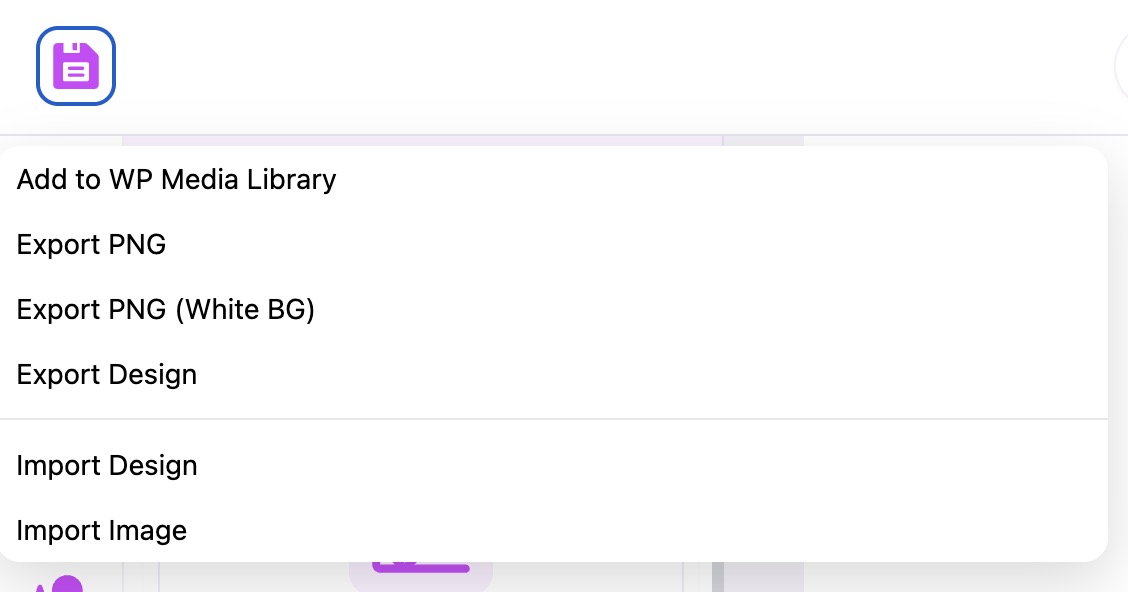
- JSON SAVING - You can save your work at any time and come back to it later if you select "EXPORT DESIGN" from the drop down menu. This will save your graphic as a JSON file to your computer. This will also save your layers for ease of editing at a later date.
- PNG SAVING - If you would like to save your work as a .png file you have 3 options. Add to WP Media Library, Export PNG or Export PNG (White BG).
- IMPORTING - You can import any work that you saved within miLOGO at anytime.
- JSON IMPORT - Select "Import Design" from the drop down menu to select a JSON file.
- PNG | JPEG | JPG | GIF IMPORTS - Finally you can select any of the file extensions above by choosing Import Image from the drop down menu.
NOTE: Importing JSON files will overwrite anything currently on your canvas and replace it with whatever is saved on the JSON. Importing any other file type will simply add the file to whatever you currently have on your canvas.
Future Plans
We are already working on a more robust .svg file importing/exporting system.
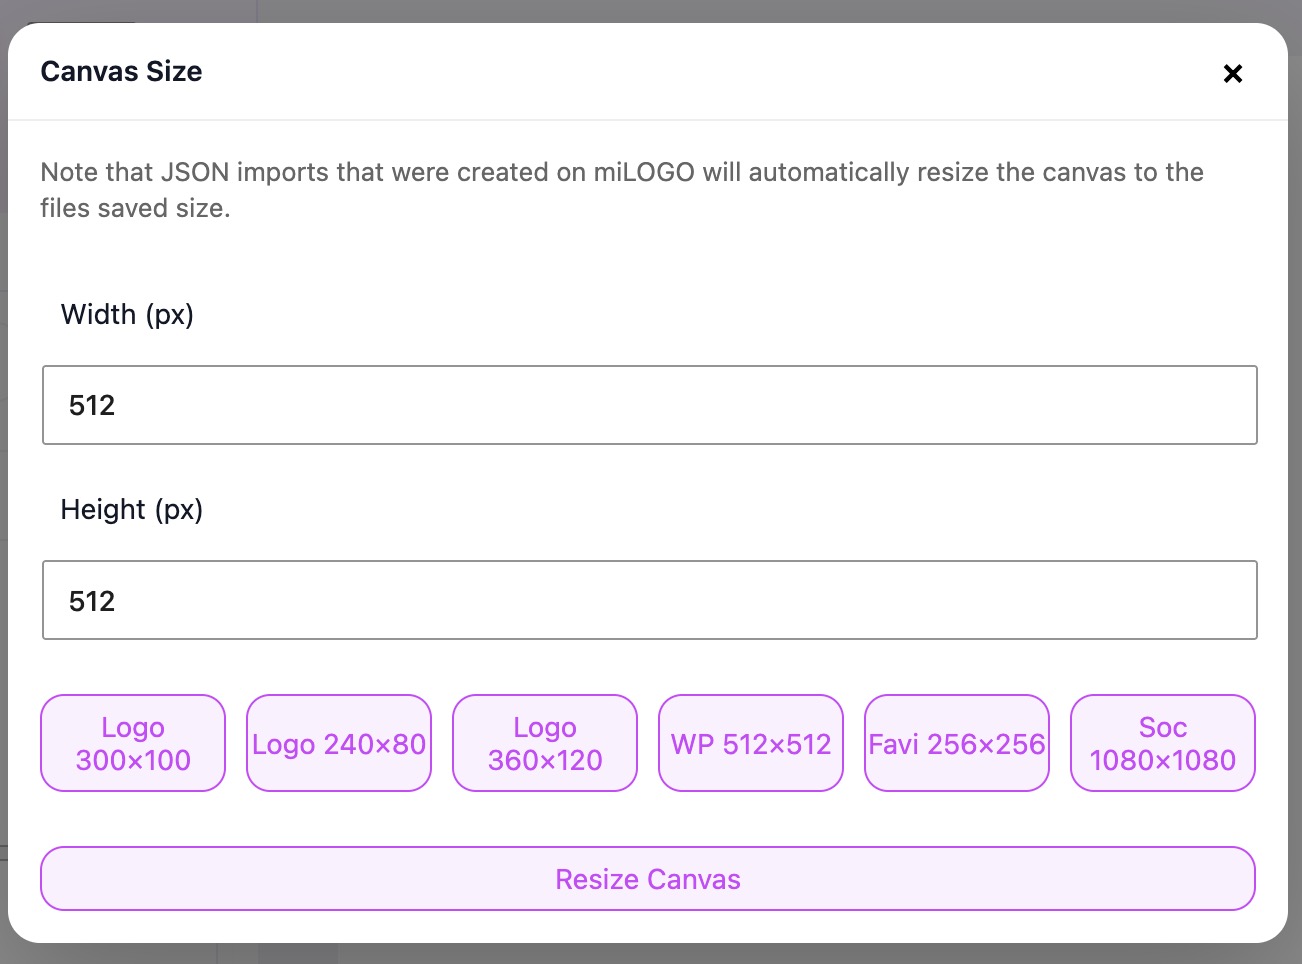
Canvas Sizing
The default canvas is set to the WP preferred size of 512 x 512 but you can easily change the size by clicking the Canvas Size button in the bottom left footer of miLOGO
How to Change Canvas Size
Changing the Canvas Size in miLOGO is very easy.
1) Find "CANVAS SIZE" Button - You can find this button in the bottom left side of miLOGO's footer. You will see current canvas size to the right of the button. Example:
2) OPEN CANVAS SIZE MODAL - If you would like to change the current Canvas Size click the button to pop open the modal. You can choose from one of the preset canvas sizes:
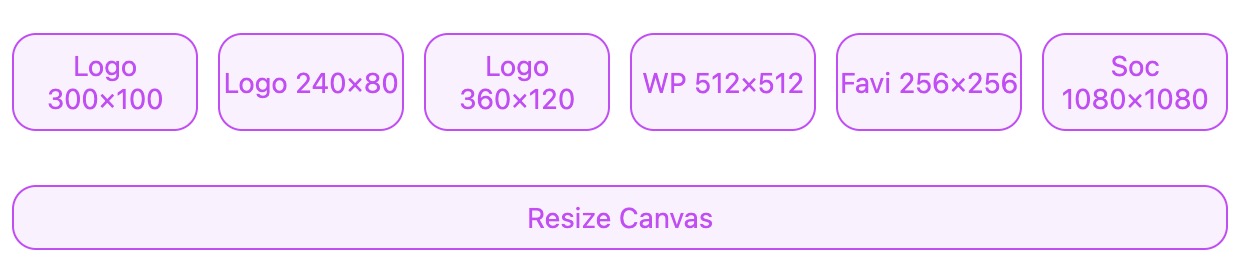
Canvas Sizing
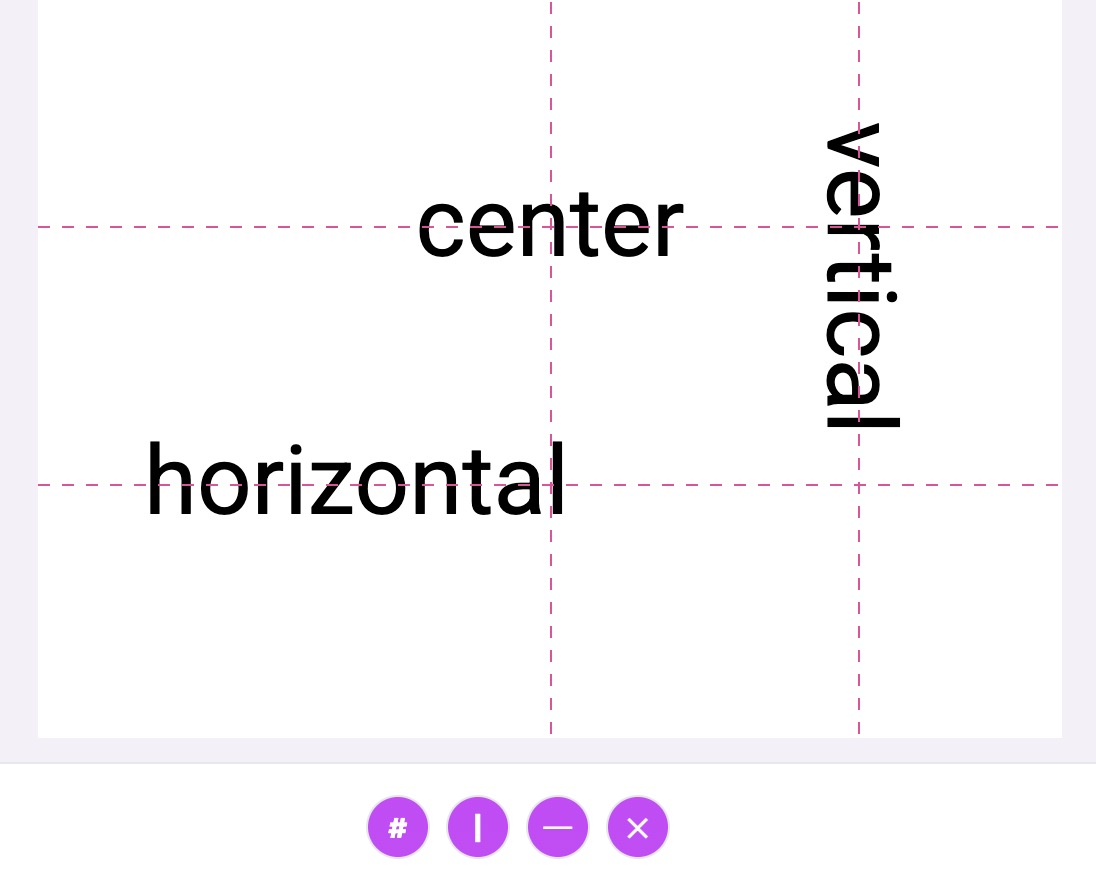
GUIDES with Snap
You can select from a Horizontal and Vertical center guide, or use single Horizontal and/or Vertical guide(s).
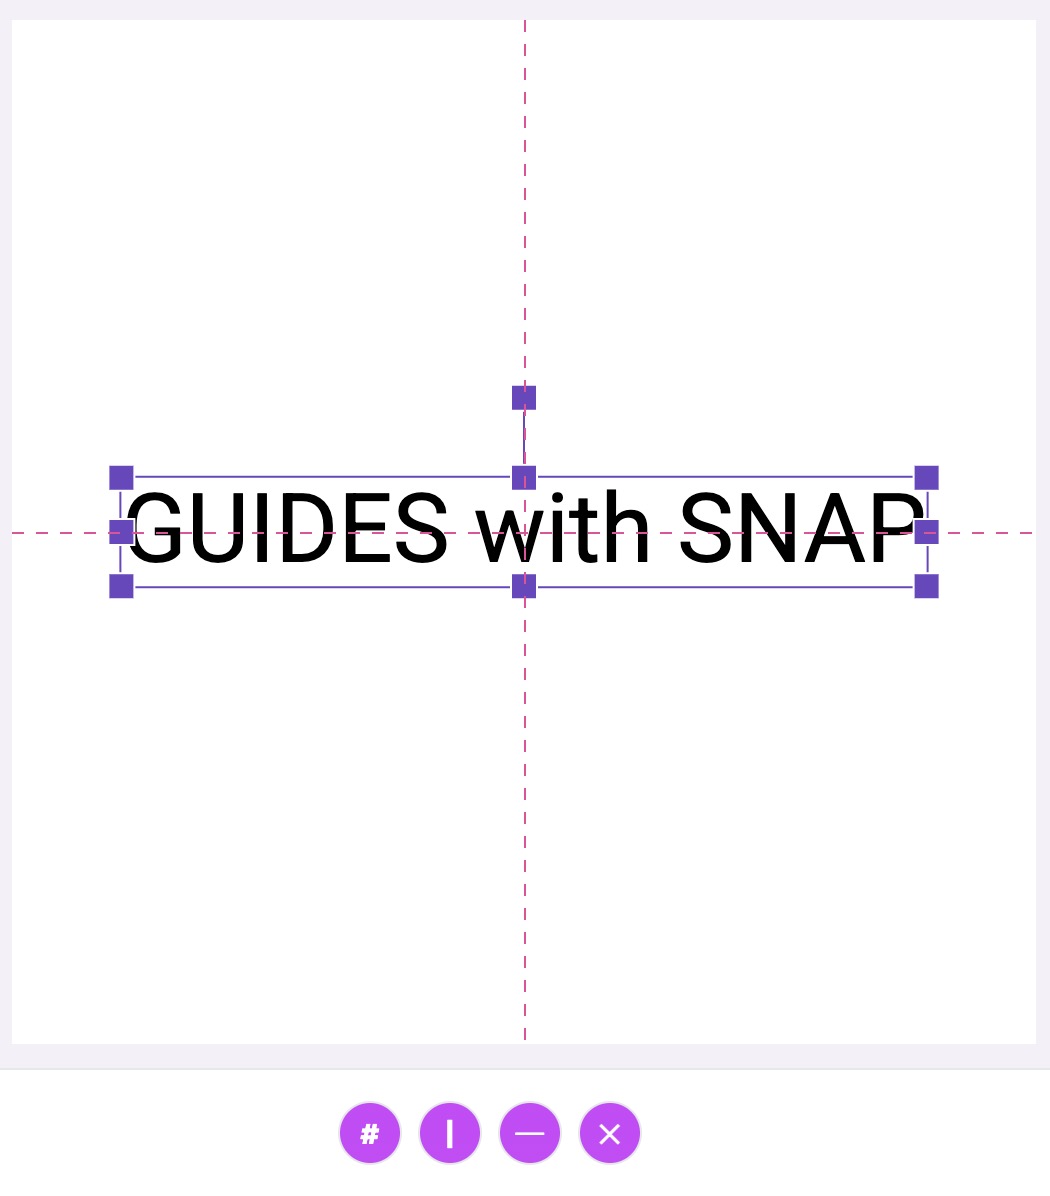
Guides with Snap
Center (Horizontal & Vertical) Guides
You will find the Guide control buttons at the bottom of miLOGO in the middle of the screen. The Center guide is controlled by the # button. The center guides are always centered no matter the canvas size. You can also snap items to the guides to make it easier for you to keep your graphics centered. When you are done with the # Centering Guide you can either push the button a 2nd time or use the X button to clear all the guides from the canvas.

Guides
Single Horizontal and/or Vertical Guides
If you need to items lined up that aren't centered you can use either the single Horizontal or Vertical lines or you can use them both. The guides work the same as the centered guides but they go where you want them to go on the canvas.

Vertical & Horizontal Guides